
For the contest, however, I wanted to stretch myself and learn some new skills. I have often been inspired by bags or jewelry I've seen created in countries like Africa or Brazil made from from soda cans. In my research for ideas, I came across a Nestle Water's website that was promoting plastic bottle recycling. I was inspired by the artists they featured and that lead me to look for how-to videos. Here is that site and some good videos I found:
- Arrowhead Mountain Spring Water Recycling click
- Pop Bottle Flowers by Luvleescrappin click
- Make Jewelry from Plastic Bottles by Juneocto click
HOW TO PLASTIC MAKE FEATHERS
Okay, so here are the steps you can take to create some dramatic feather shapes from a plastic bottle.
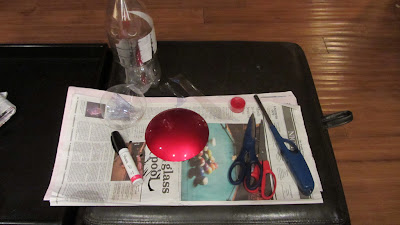
2-liter plastic soda bottle
Sharpie (any color)
Tools
Scissors
Tea light

Step One:
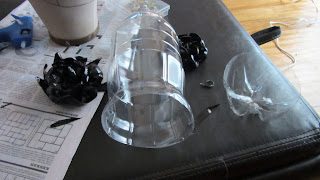
Empty, clean and dry your bottle. Remove the label so the plastic is clean for a smooth surface. You can cut out the bottom and use later to create a flower.
Step Two:
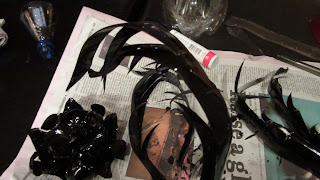
Cut 1-2 inch strips of plastic at whatever length you want your feather to be. I cut all the way to the end of a 2-liter bottle.

Create a point on the end, if you like. I also cut 1/2 inch slits into the side of my feathers.
Step Three:
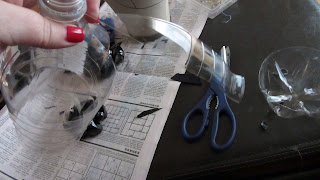
Color one side of the plastic with the sharpie. It didn't seem to matter which side but you might have a preference to test on a scrap.


Step Four:
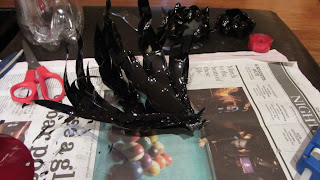
Hold the edges of the plastic feather over a tea light candle until your feather curls the way you like it. Be careful because it curls very quickly. You can apply heat to the reverse side if you want to correct the shape.
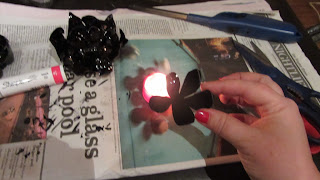 |
| Just heat the edges |
 |
| Plastic curls from the heat |
 |
| More curling |
 |
| Collecting the feathers to attach to my hat |
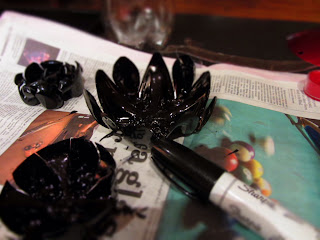 |
| Flowers from bottom of bottle |
Thanks for stopping by!!!